Connecting Responsys with Ematic
Before you could start sending out Hi-iQ list in your Responsys account, it is essential to create connect jobs between Responsys and Hi-iQ. There are a total of 5 set ups required:
- Setting up SFTP folder
- Setting up Export feed data
- Setting up Export Profile list data
- Create a Profile Extension Table (PET)
- Setting up Import Profile Extension Data
Setting up SFTP folder
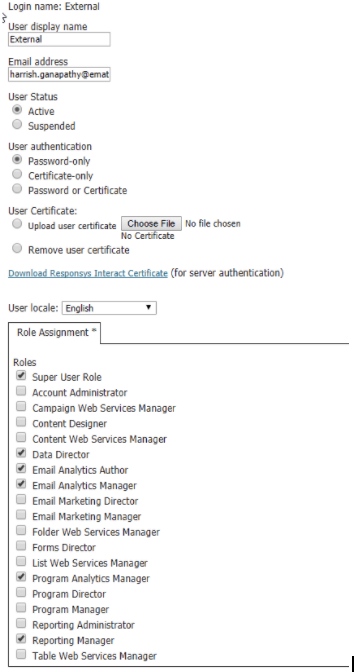
1. Add integration@ematicsolutions.com to your Responsys account with Super User role, Data Director, Email Analytics Manager, Reporting Administrator and Reporting Manager by going to Account > Add or Manage Users.
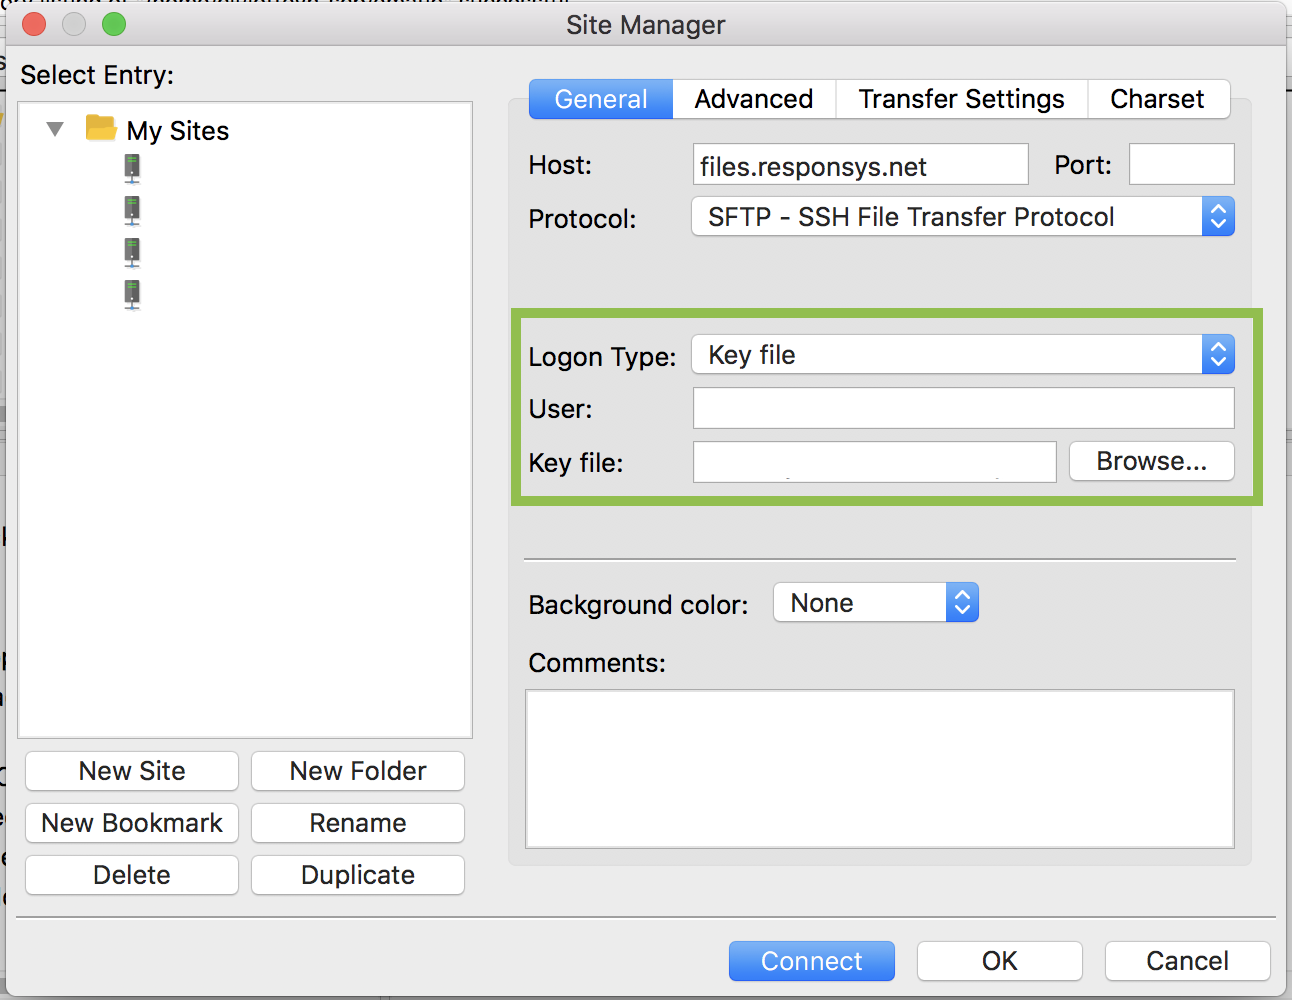
2. Share your credentials of your Oracle Responsys SFTP for the export and import of data.
Setting up Export feed data
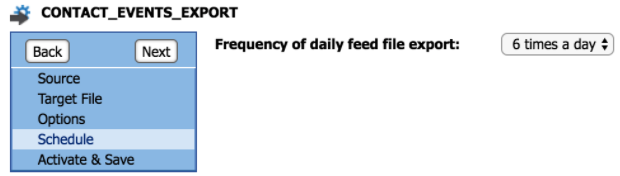
1. Responsys and Hi-iQ needs to communicate the same data. To set this, select these Event Types on your Events Export:
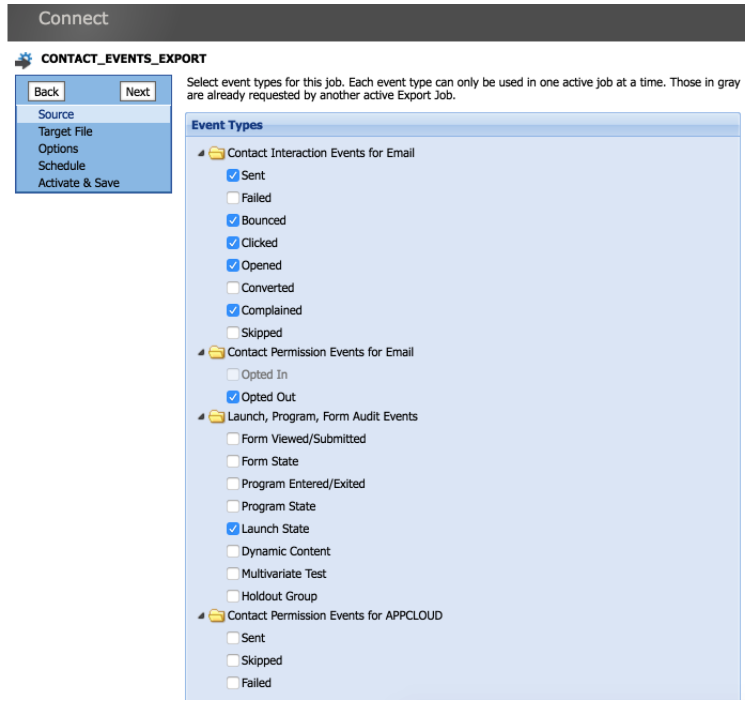
Info: Do ensure that you do not miss any event types. However, you may select more than the essentials.
2. Upon successful set up, the data will be made in the indicate File Location, like so:

3. Set a schedule to the Contact Events Export. We highly recommend to set it at 6 times a day.
Setting up Export Profile list data
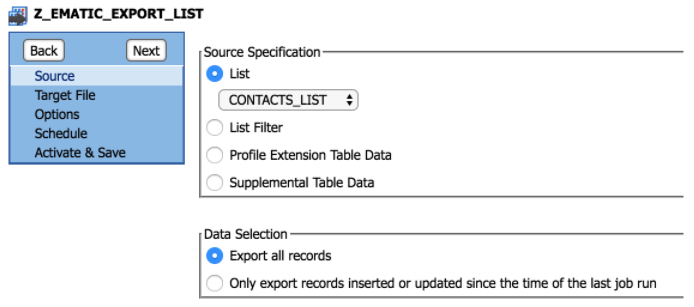
1. Next, to set up the export to your Profile List. Name this export job Z_EMATIC_EXPORT_LIST
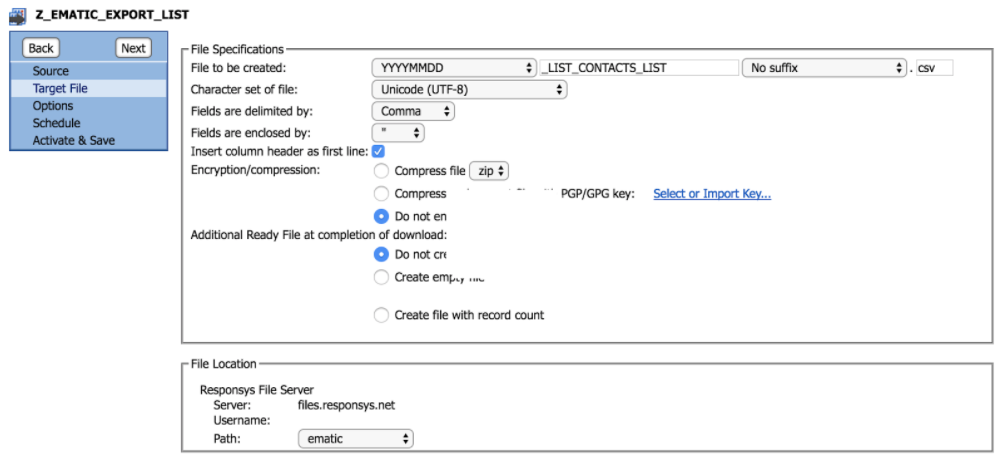
2. Create a naming convention with YYYYMMDD_LIST_[name of your Profile List from the previous screenshot] like so:
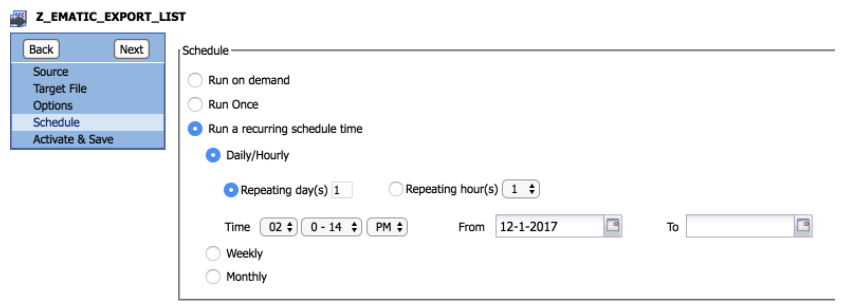
3. Set a schedule to the Profile list Export to run daily.
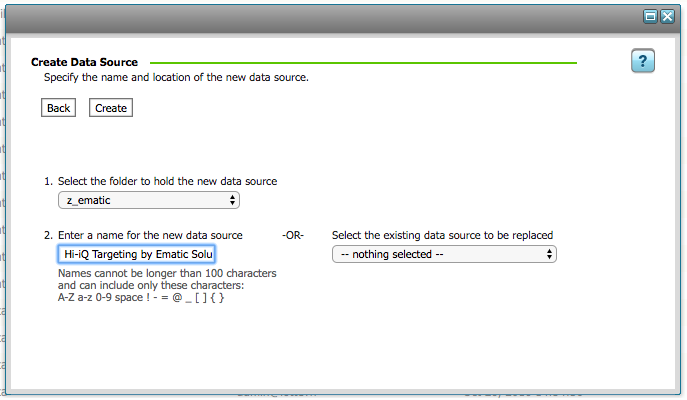
Create a Profile Extension Table (PET)
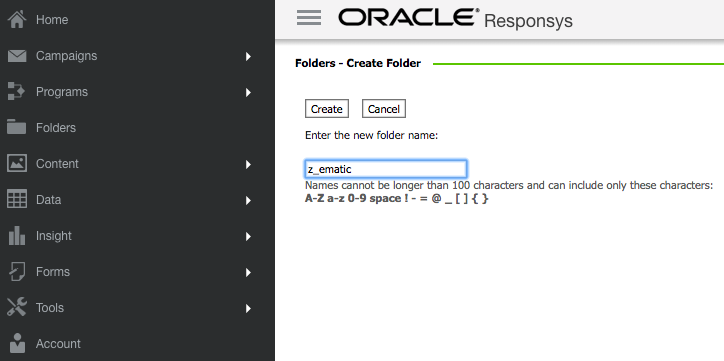
1. Create a Profile Extension Table (PET). Create a folder and name it “z_ematic”.
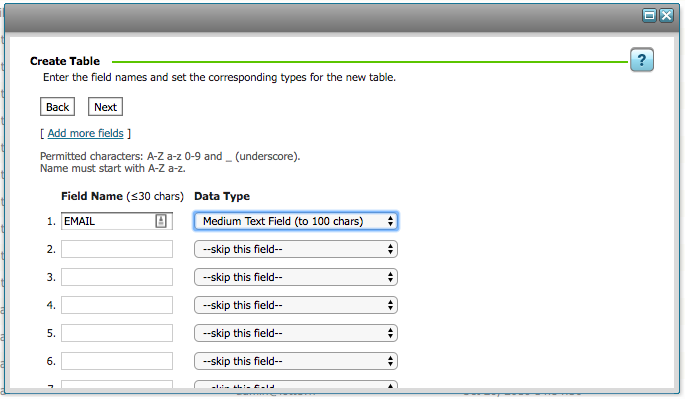
2. Next, specify the fields in the PET. Go to Data > Select the appropriate list > Profile Extensions Tab > Create Profile Extension Table > Specify Fields
3. Fill the first First Field Name with ‘Email’ and ‘Medium Text Field’ for Data Type. Click Next.
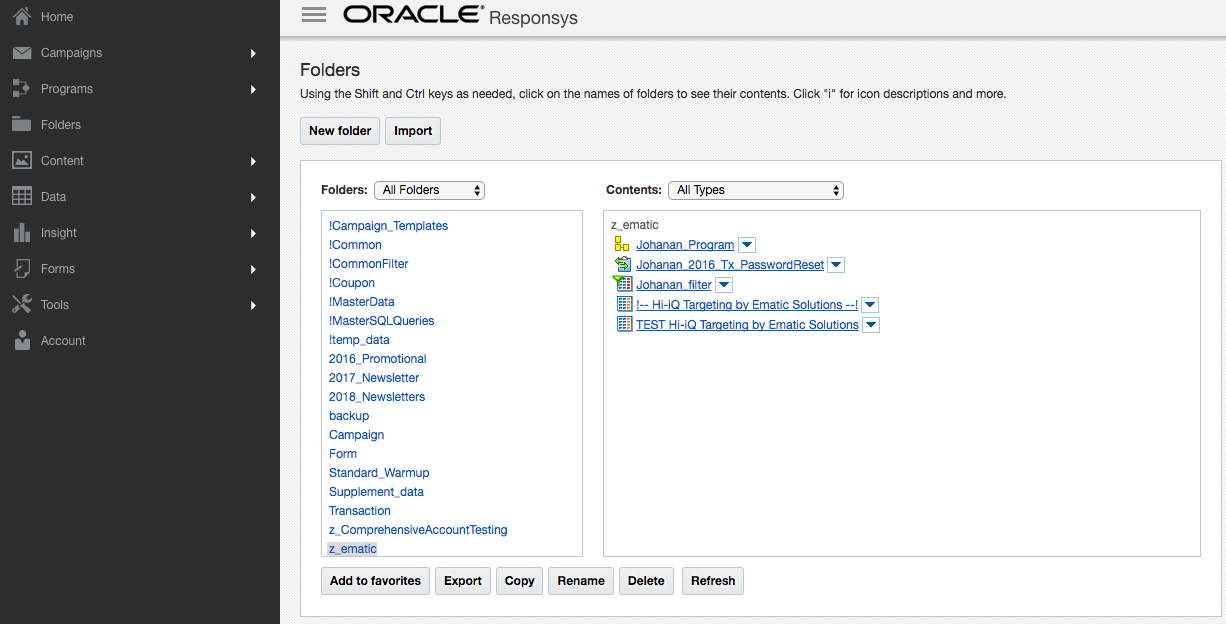
4. To ensure that you have set the PET up correctly, go to Folder and the PET will be there.
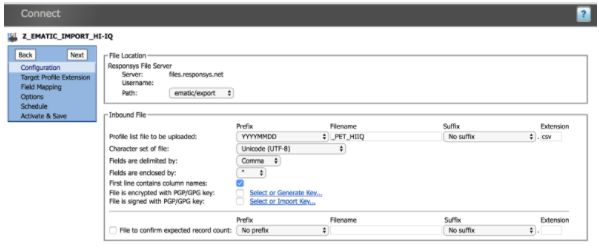
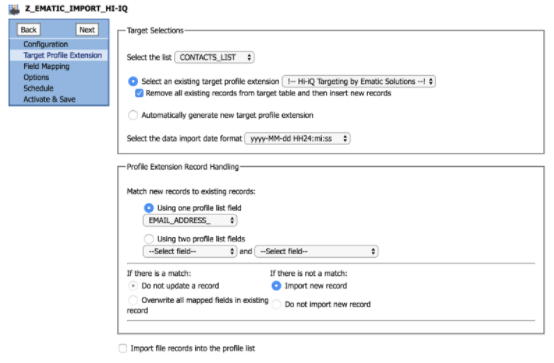
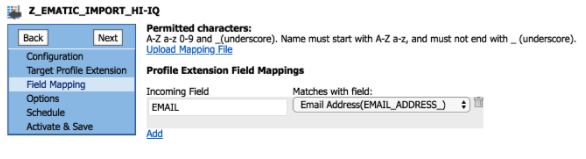
Setting up Import Profile Extension Data
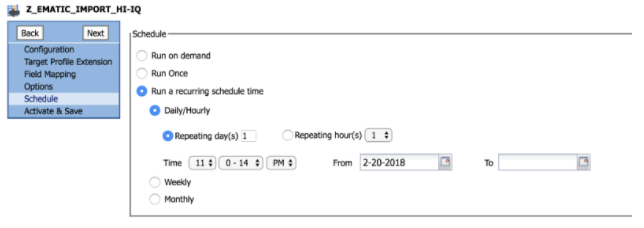
1. Create a connect job name Z_EMATIC_IMPORT_HI-IQ
2. To match the PET created in the earlier steps, Check “Remove all existing records” and match “Email_address_”.
3. Set to match incoming field “Email” to “Email_Aaddress_”.
4. A distro will be provided to you to be included in this step.
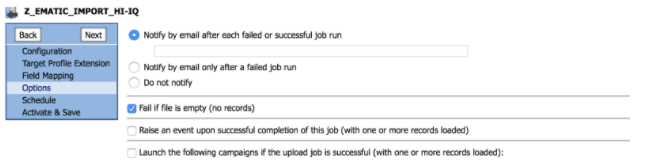
5. Set a schedule according to your preference.